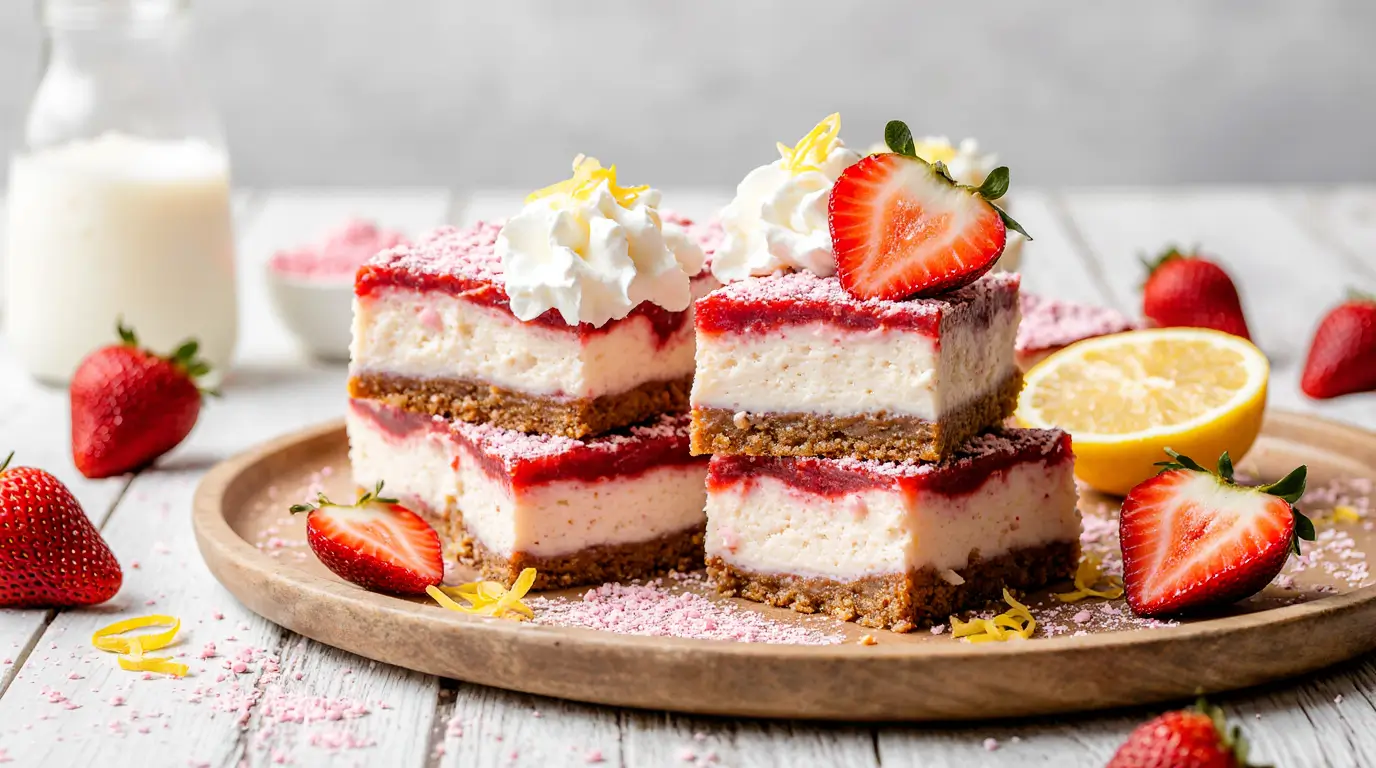
Easy No-Bake Strawberry-Lemon Dream Bars
These creamy, dreamy strawberry-lemon dream bars are about to become your new signature dessert! With five incredible layers combining bright lemon and fresh strawberry flavors, they taste like the best strawberry shortcake you’ve ever had – but without turning on your oven.
Prep & Cook Time
- Prep Time: 25-30 minutes
- Chill Time: 4 hours (or overnight)
- Total Time: 4 hours 30 minutes
- Serves: 9
Ingredients
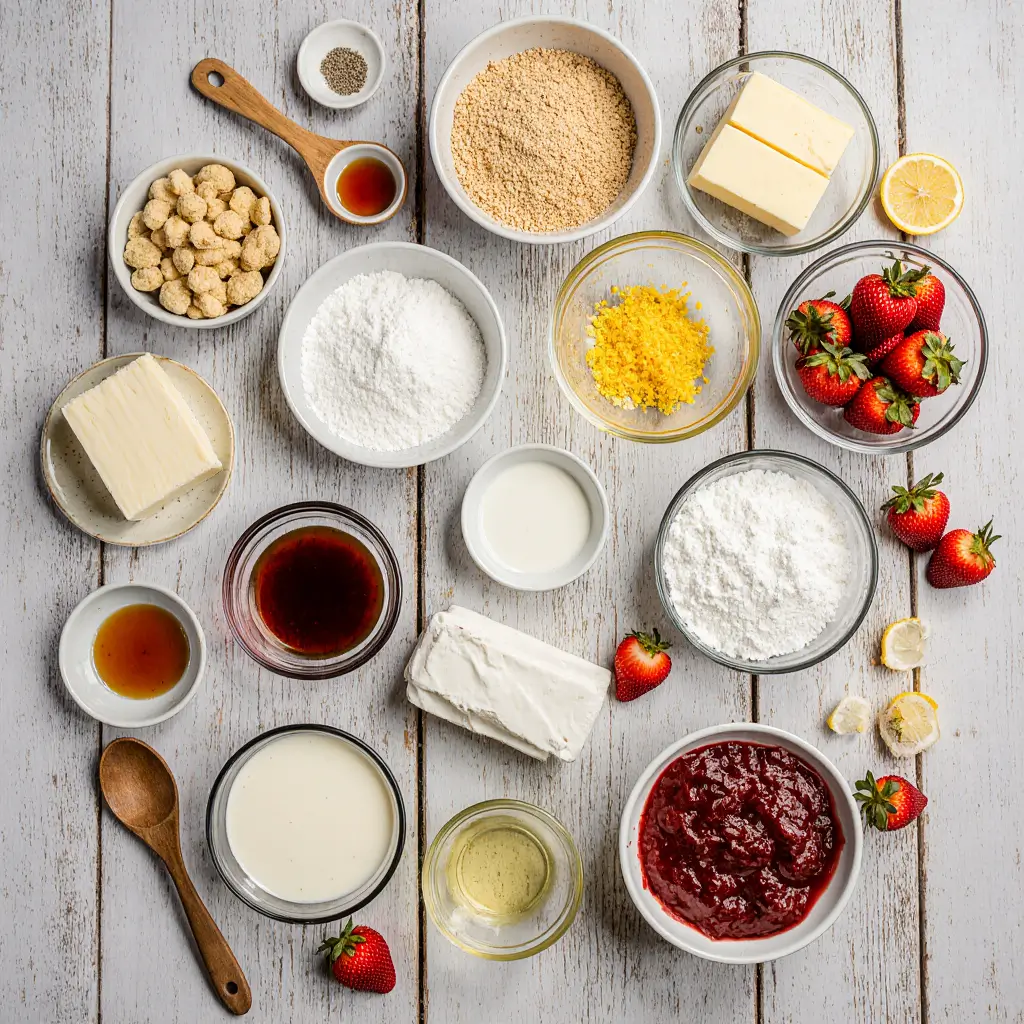
For the Shortbread Crust:
- 2 cups shortbread cookies, finely crushed
- 4 tablespoons unsalted butter, melted
- Pinch of kosher salt
For the Lemon Cheesecake Layer:
- 8 oz full-fat cream cheese, softened to room temperature
- 1 tablespoon finely grated lemon zest
- 2 tablespoons fresh lemon juice
- 1 cup powdered sugar
- 1/4 teaspoon kosher salt
- 2 cups thawed frozen whipped topping (like Cool Whip), divided
For the Strawberry Cheesecake Layer:
- 1/3 cup strawberry preserves
- 2 tablespoons freeze-dried strawberry powder (plus extra for dusting)
- Remaining cream cheese mixture
- Remaining whipped topping
For the Whipped Cream Topping:
- 1 cup heavy whipping cream (or use additional frozen whipped topping)
- 2 tablespoons powdered sugar
- 1/2 teaspoon vanilla extract
Instructions
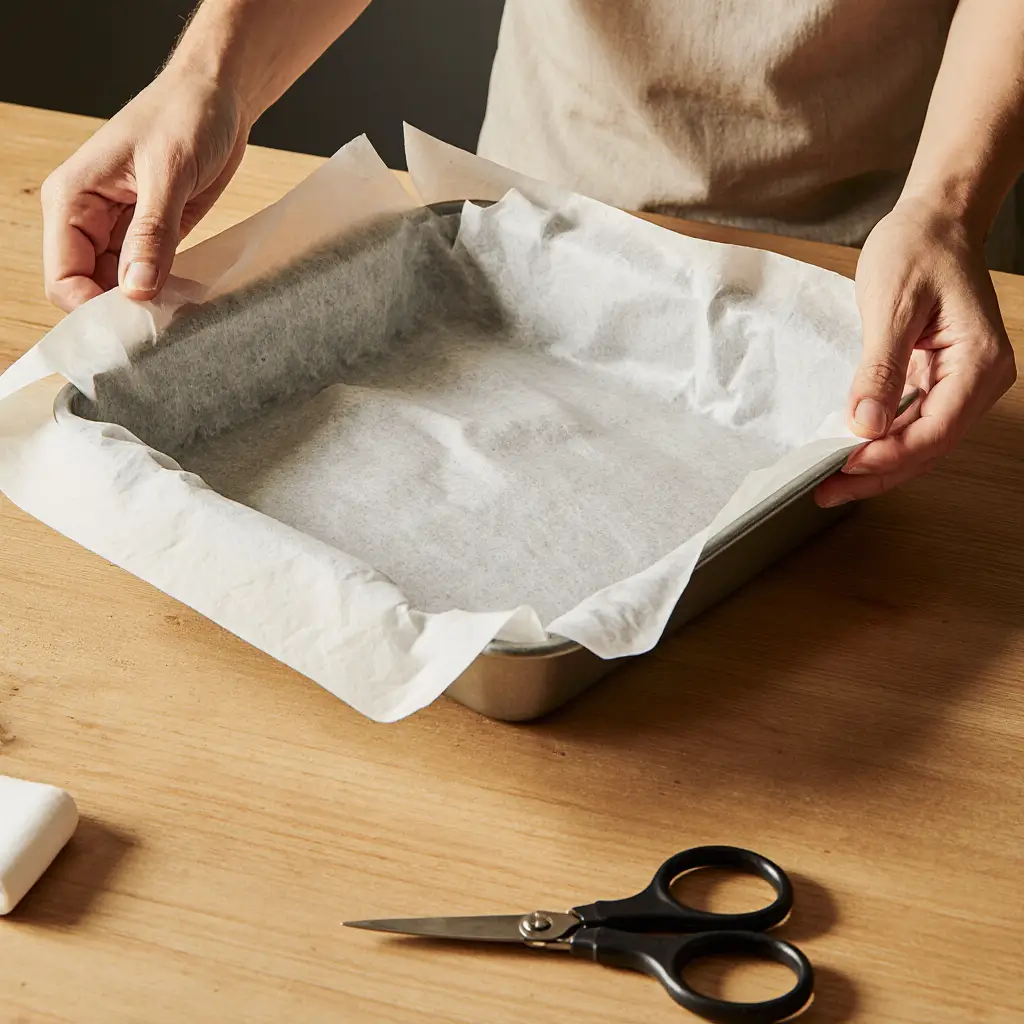
Prepare Your Pan:
- Line an 8×8-inch baking pan with parchment paper, leaving a 2-inch overhang on all sides to create a “sling” for easy removal later.
Make the Crust: 2. Crush your shortbread cookies into fine crumbs using a food processor or by placing them in a sealed bag and crushing with a rolling pin. 3. Mix the cookie crumbs with melted butter and a pinch of salt until the mixture resembles wet sand. 4. Press the mixture firmly into the bottom of your prepared pan, creating an even layer. Use the bottom of a measuring cup to really pack it down.

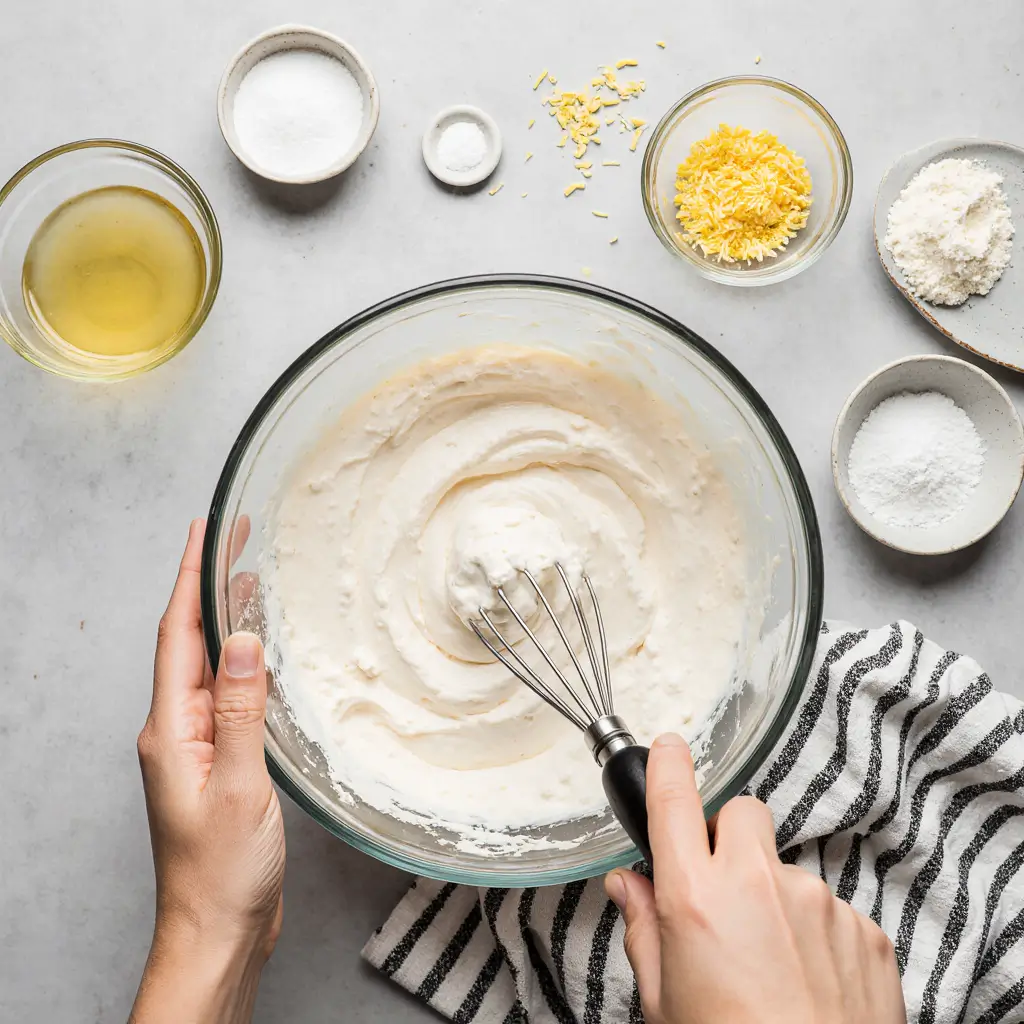
Create the Cheesecake Base: 5. In a large bowl, beat the softened cream cheese until completely smooth and fluffy (about 2-3 minutes with an electric mixer). 6. Add lemon zest, lemon juice, powdered sugar, and salt. Beat until well combined and silky smooth.
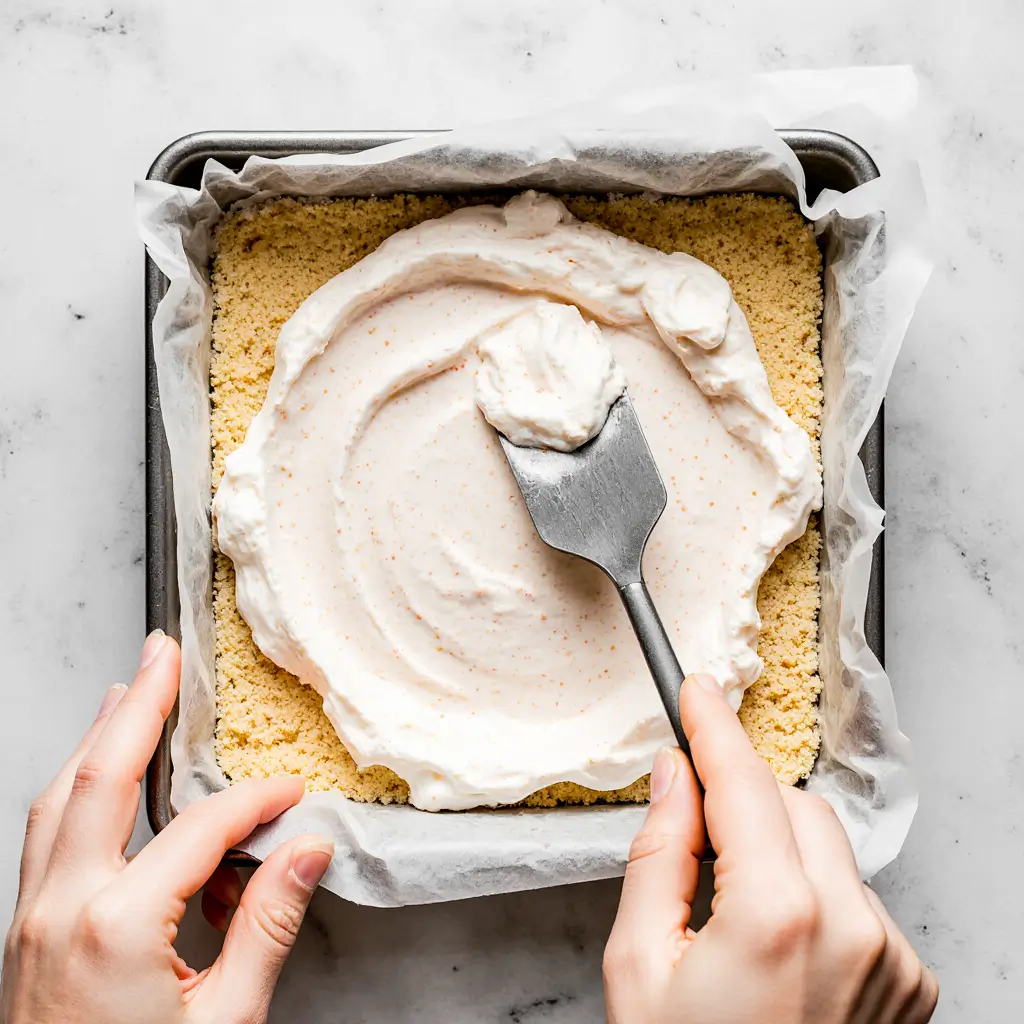
Layer the Lemon Cheesecake: 7. Take half of your cream cheese mixture and gently fold in 1 cup of the whipped topping until just combined. 8. Spread this lemon layer evenly over your crust, smoothing the top with an offset spatula.
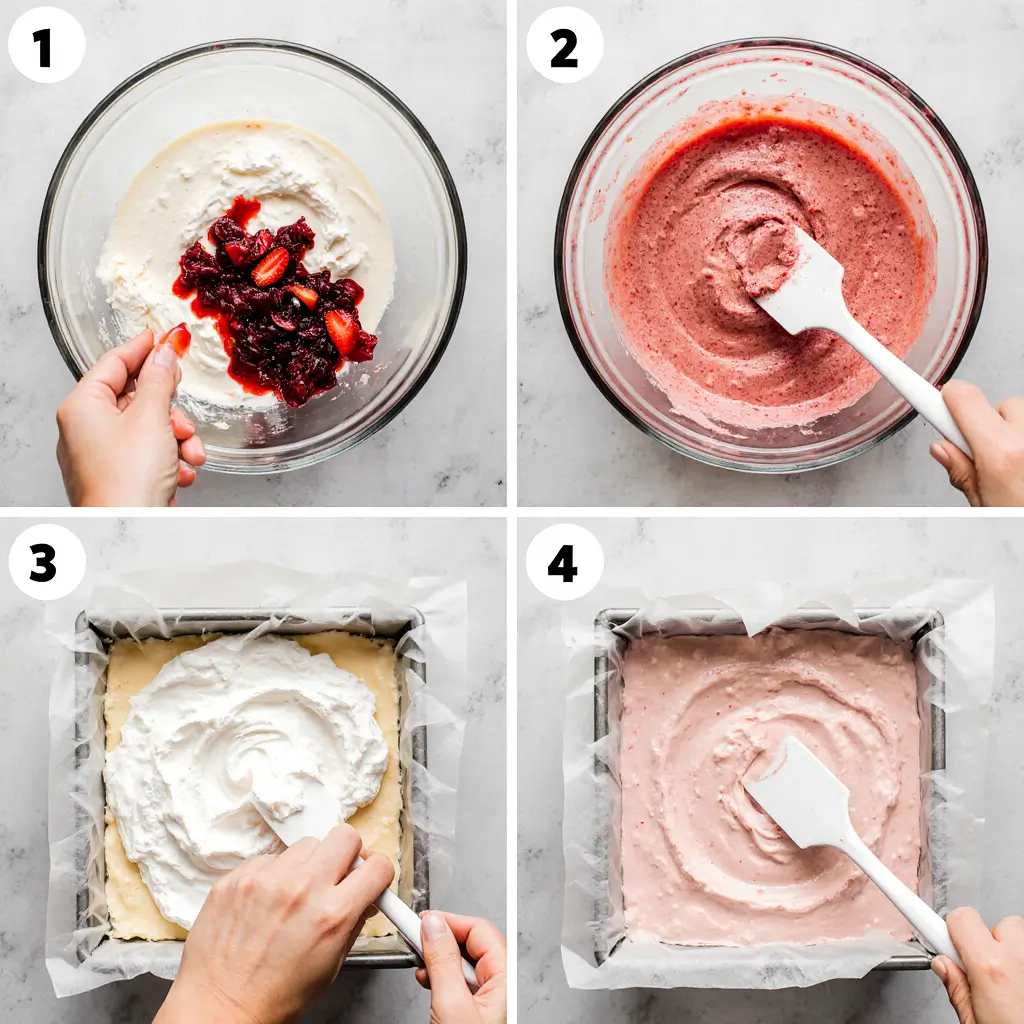
Create the Strawberry Layer: 9. To the remaining cream cheese mixture, add strawberry preserves and 2 tablespoons of freeze-dried strawberry powder. Mix until evenly colored and combined. 10. Fold in the remaining 1 cup of whipped topping until just incorporated – don’t over mix! 11. Gently spread this strawberry layer over the lemon layer.
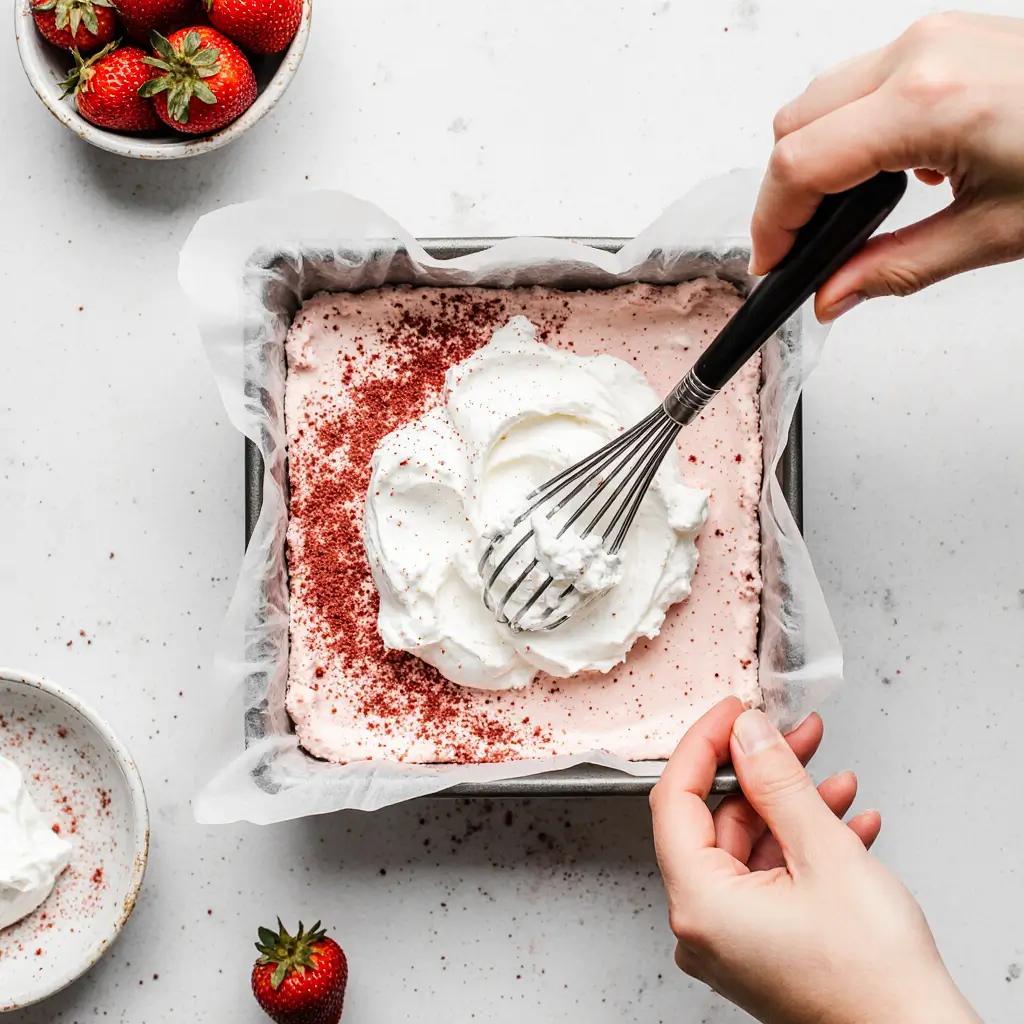
Add the Final Touch: 12. If making homemade whipped cream, whip the heavy cream with powdered sugar and vanilla until soft peaks form. Otherwise, use additional frozen whipped topping. 13. Spread the whipped cream evenly over the strawberry layer. 14. Dust the top generously with reserved freeze-dried strawberry powder for that gorgeous pink finish.
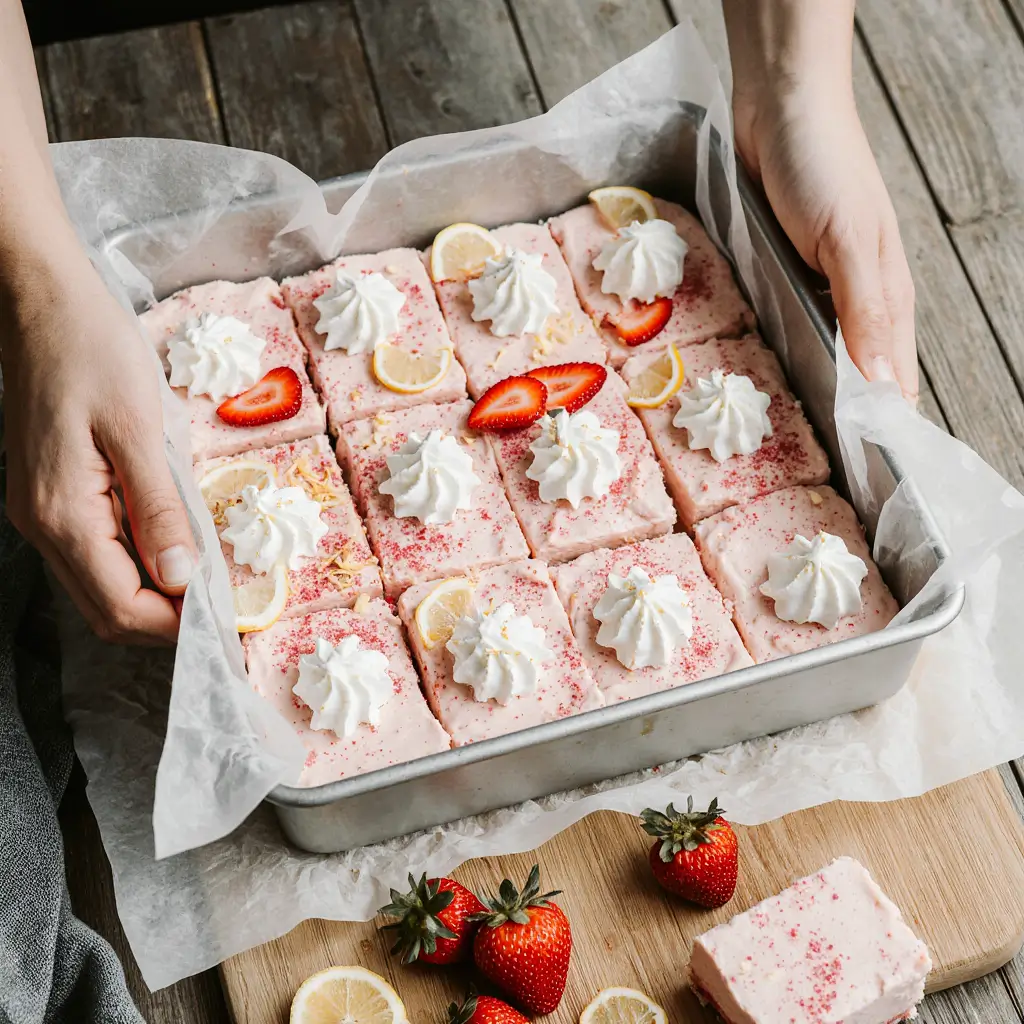
Chill and Serve: 15. Cover tightly with plastic wrap and refrigerate for at least 4 hours, but preferably overnight. 16. When ready to serve, lift the entire dessert out using the parchment paper sling. 17. Using a sharp knife wiped clean between cuts, slice into 9 squares.
Nutrition Info (Per Serving)
- Calories: 519
- Fat: 30.4g
- Carbohydrates: 58.0g
- Protein: 4.9g
- Fiber: 1.1g
- Sugar: 34.1g
- Sodium: 331mg
Why You’ll Love This Recipe
Let me tell you why these strawberry-lemon dream bars have become my go-to dessert for every spring gathering! First off, the no-bake factor is a game-changer when the weather starts warming up and you don’t want to heat up your kitchen. But honestly, even if it were winter, I’d still make these because they’re just that good.
The strawberry-lemon combination is absolutely magical. That bright, zesty lemon layer cuts through the richness beautifully, while the strawberry layer delivers an intense berry punch that tastes like summer in a bite. The freeze-dried strawberry powder is my secret weapon here – it gives you that concentrated strawberry flavor without adding extra moisture that could make your dream bars soggy.
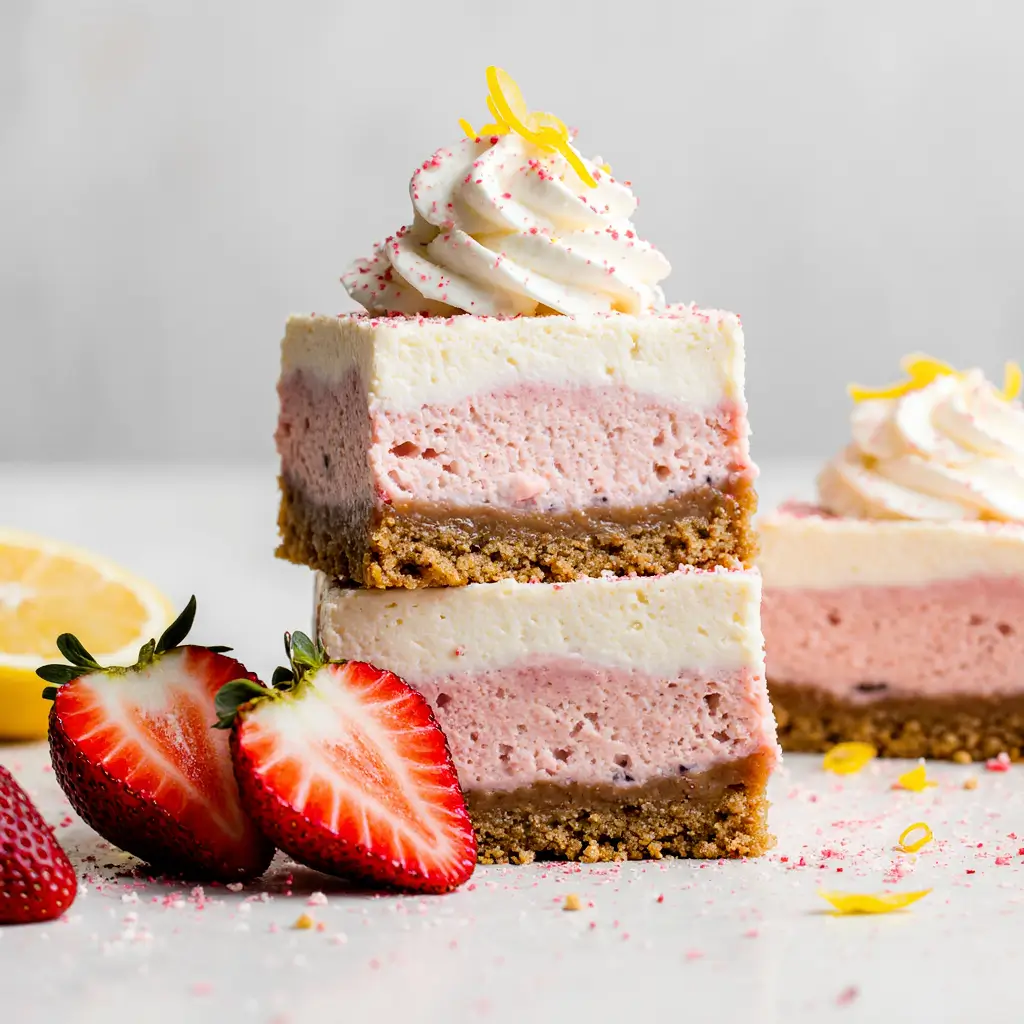
What really sets these strawberry-lemon dream bars apart is the texture contrast. You’ve got that buttery, crunchy shortbread base, two creamy cheesecake layers with different flavors, and that light, airy whipped cream on top. It’s like getting five different desserts in one perfect bite!
Plus, these no-bake dream bars actually taste better the next day. The strawberry and lemon flavors meld together beautifully overnight, and the layers set up perfectly for clean, beautiful slices that’ll have your friends asking for the recipe.
Cook’s Tips and Variations
My Tried-and-True Tips:
- Don’t skip softening that cream cheese! Cold cream cheese will leave you with lumps no matter how much you beat it. Leave it out for about 2 hours before starting.
- When crushing your cookies, aim for fine crumbs with just a few slightly larger pieces for texture. You want it to hold together when pressed, not turn into powder.
- Line your pan with parchment even if it’s non-stick. Trust me on this – you’ll thank me when you’re lifting out perfect bars instead of digging them out with a spatula.
- Wipe your knife clean between every single cut. It takes an extra minute but gives you those Instagram-worthy clean layers.
Delicious Variations:
- Mixed Berry Dream: Swap the strawberry preserves for mixed berry jam and use freeze-dried raspberry powder instead
- Tropical Twist: Use passion fruit or mango preserves with freeze-dried pineapple powder
- Chocolate Lovers: Add 2 tablespoons of cocoa powder to the strawberry layer for chocolate-covered strawberry vibes
- Graham Cracker Base: Substitute graham crackers for shortbread if that’s what you have on hand (you might need an extra tablespoon of butter)
Pairing Ideas
These strawberry-lemon dream bars are absolutely perfect on their own, but if you want to create a full dessert spread, here are some of my favorite pairings:
- Fresh berries – strawberries, raspberries, or blueberries on the side
- Shortbread cookies for extra crunch and to echo the crust flavors
- Sparkling lemonade or iced tea to complement the citrus notes
- Coffee or espresso – the slight bitterness balances the sweetness beautifully
- Vanilla ice cream for an extra indulgent treat
For spring parties, I love serving these alongside other no-bake desserts like lemon bars or key lime pie to create a refreshing dessert table that won’t heat up your kitchen.
FAQs
Q: Can I make these ahead of time? A: Absolutely! In fact, I recommend it. These bars are at their best when made at least 4 hours ahead, but overnight is even better. They’ll keep in the refrigerator for up to 4 days.
Q: Can I use fresh strawberries instead of preserves? A: I don’t recommend it for the cheesecake layer because fresh strawberries add too much moisture. However, you can certainly garnish the finished bars with fresh sliced strawberries!
Q: What if I can’t find freeze-dried strawberries? A: You can find them in most grocery stores near the dried fruits or in the health food section. In a pinch, you could use strawberry Jell-O powder, but reduce the amount to 1 tablespoon since it’s much more concentrated.
Q: Can I use homemade whipped cream throughout? A: Yes! You’ll need about 3 cups total of whipped cream to replace all the frozen whipped topping. Just be gentle when folding it in to maintain the light texture.
Q: Help! My bars are too soft to cut cleanly. A: Make sure they’ve chilled for at least 4 hours, preferably overnight. If they’re still soft, pop them in the freezer for 30 minutes before cutting. Also, use a sharp knife and clean it between each cut.
Q: Can I freeze these bars? A: You can freeze them for up to 1 month, but the texture of the whipped layers might change slightly. Thaw in the refrigerator for several hours before serving.
If you’re ready to impress your family and friends with these no-bake strawberry-lemon dream bars, don’t forget to:
- Subscribe for more easy and tasty recipes.
- Share this post with fellow dessert lovers.
- Comment below with your favorite variations or questions!
Have you tried our recipe? Share your review!
There are no reviews yet. Be the first one to write one.