The Best Homemade Beef Jerky Recipe (No Dehydrator Needed!)
Transform your kitchen into a jerky-making powerhouse with this foolproof oven method that delivers tender, flavorful beef jerky that rivals your favorite store-bought brands – no special equipment required!
There’s something incredibly satisfying about making your own beef jerky at home. Not only do you control every ingredient that goes into it, but you also save a fortune compared to those expensive store-bought packages. After years of experimenting in my kitchen, I’ve discovered the secret that makes all the difference: adding plenty of sugar to the marinade. This isn’t just about sweetness – the sugar actually helps preserve the meat and locks in moisture, creating that perfect chewy-yet-tender texture we all crave.
The result? Beautifully balanced jerky with a salty-sweet profile, subtle smokiness, and that satisfying chew that keeps you coming back for more. My family devours batch after batch, and I bet yours will too. The best part? You probably already have most of the ingredients in your pantry right now.
Prep Time: 30 minutes
Cook Time: 3 hours
Marinating Time: 12+ hours
Total Time: 15+ hours
Servings: 12-14 servings
Ingredients
- 3 pounds eye of round roast, well-trimmed
- 1/2 cup dark brown sugar, packed
- 1/2 cup soy sauce
- 2 tablespoons Worcestershire sauce
- 2 teaspoons smoked paprika
- 1 teaspoon unseasoned meat tenderizer (like McCormick brand)
- 1/2 teaspoon freshly ground black pepper
- 1/2 teaspoon red pepper flakes (adjust to taste)
- 1/2 teaspoon onion powder
- 1/2 teaspoon garlic powder
Instructions
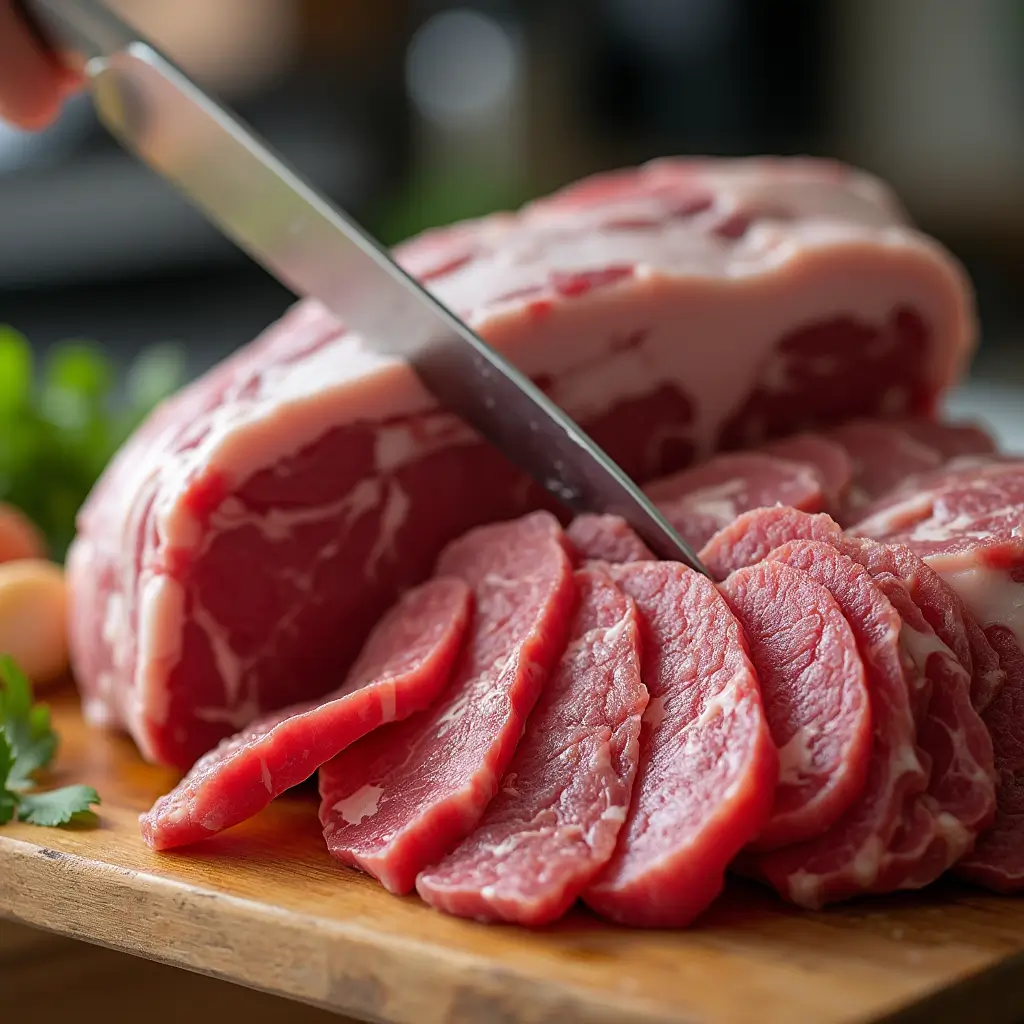
Step 1: Prepare the Meat
Start by placing your eye of round roast in the freezer for 1-2 hours. This makes slicing so much easier – trust me on this one! Once partially frozen, use a sharp knife to slice the meat between 1/8 and 1/4 inch thick, cutting with the grain. If your roast is particularly thick, cut it in half horizontally first to make slicing more manageable.
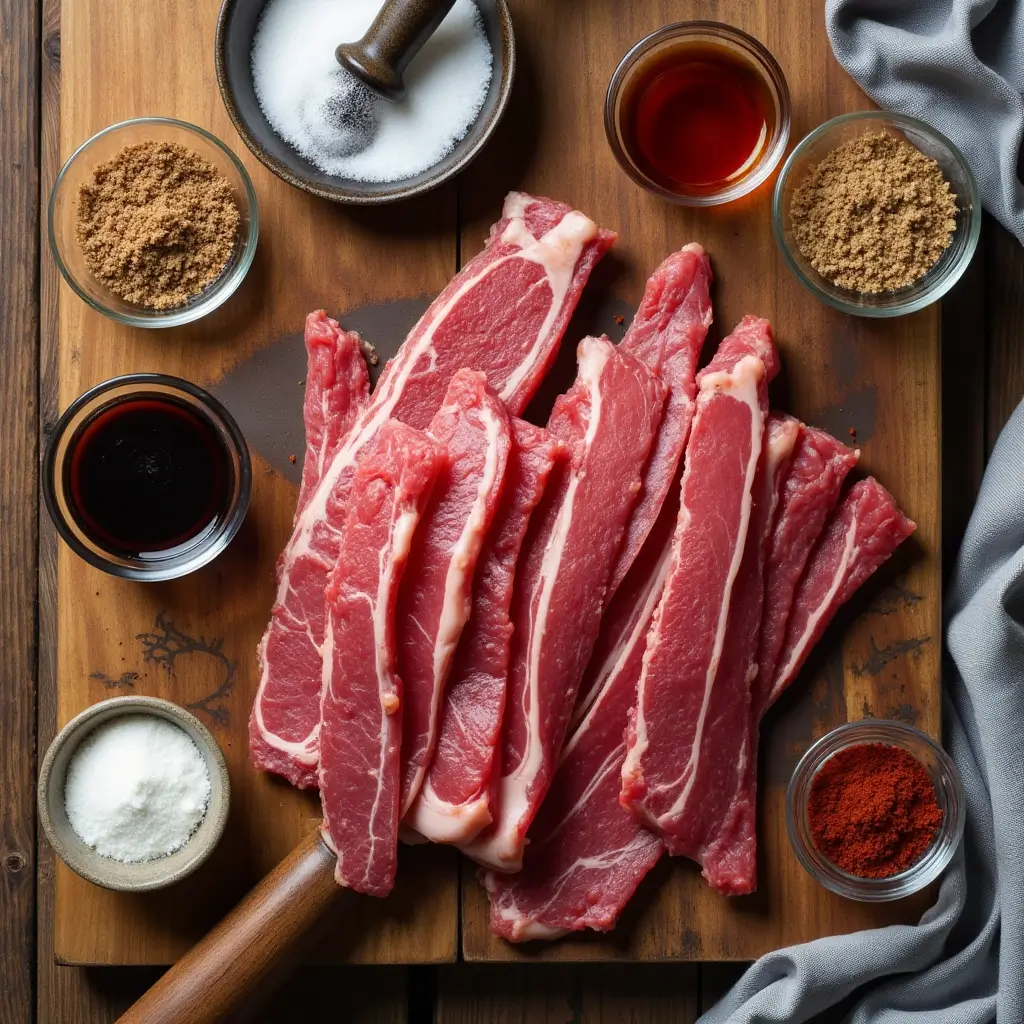
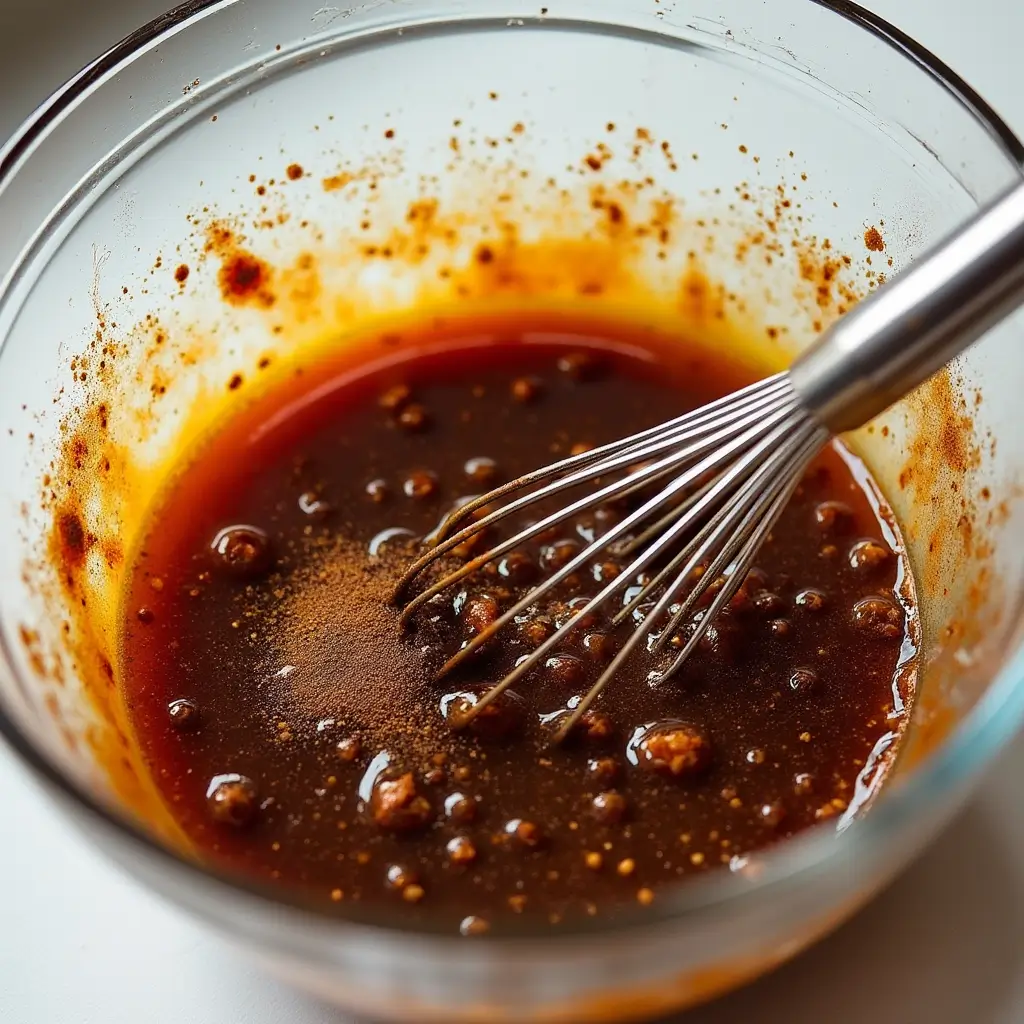
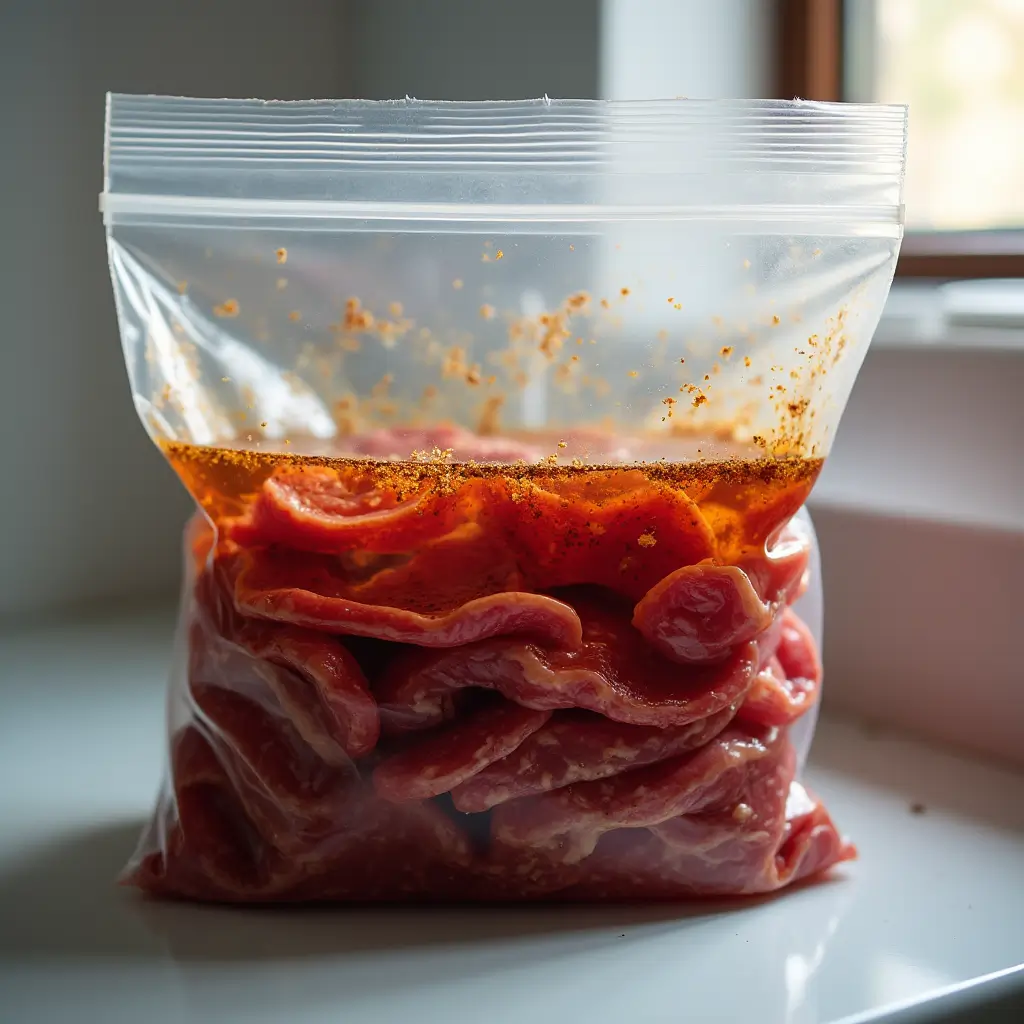
Step 2: Create the Magic Marinade
In a large mixing bowl, whisk together the brown sugar, soy sauce, Worcestershire sauce, smoked paprika, meat tenderizer, black pepper, red pepper flakes, onion powder, and garlic powder. Keep whisking until the sugar completely dissolves – this is crucial for even flavor distribution.
Step 3: Marinate for Maximum Flavor
Add your sliced beef to the marinade, tossing thoroughly to ensure every piece is well-coated. Transfer everything to a large ziplock bag or cover the bowl tightly with plastic wrap. Refrigerate for at least 12 hours, though overnight is even better. About halfway through marinating, give everything a good toss or flip to ensure even coverage.
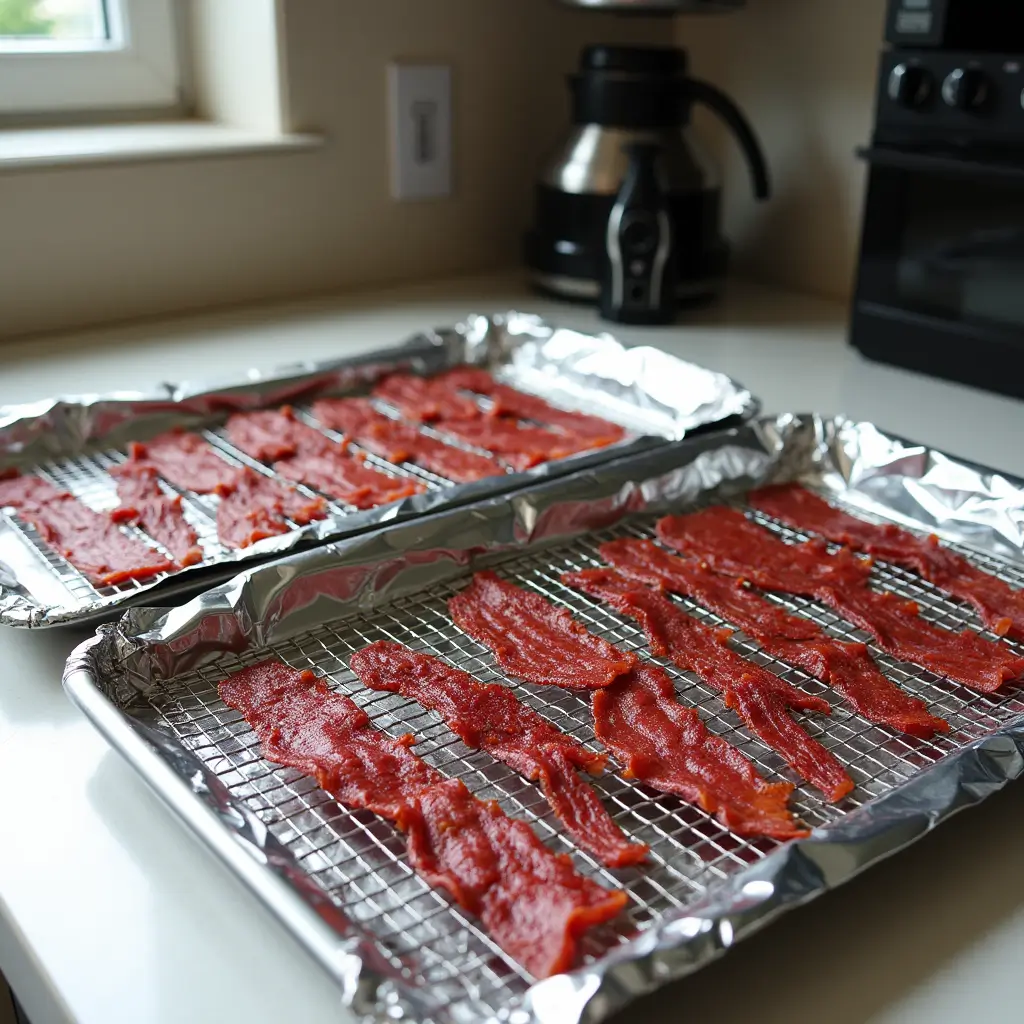
Step 4: Set Up Your Drying Station
Line two large baking sheets with aluminum foil, then place wire cooling racks on top. This setup allows air to circulate around the meat, ensuring even drying. Preheat your oven to 175°F and position the racks in the center positions.
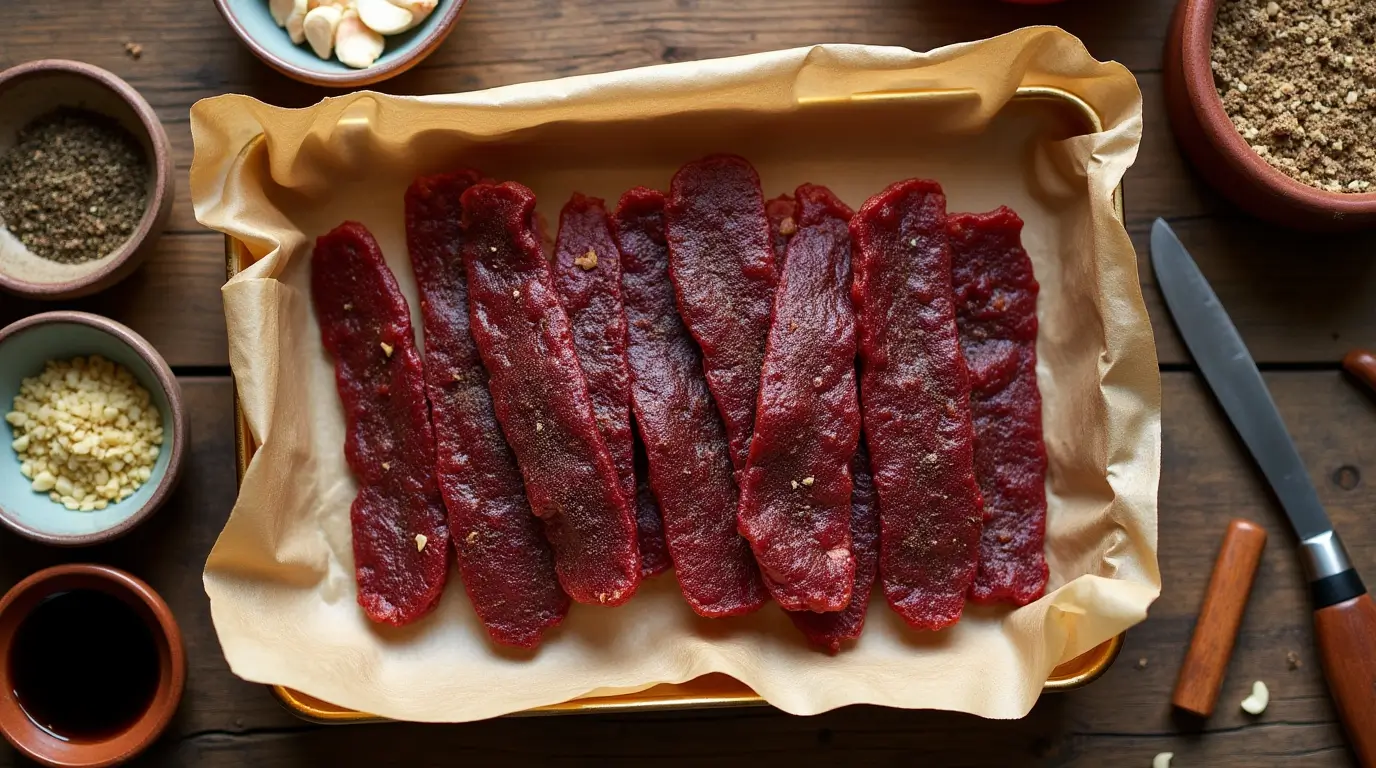
Step 5: The Transformation Begins
Arrange the marinated beef strips in a single layer on the wire racks, making sure pieces don’t overlap. Slide the pans into your preheated oven and bake for 3-4 hours, rotating the pans halfway through for even cooking.
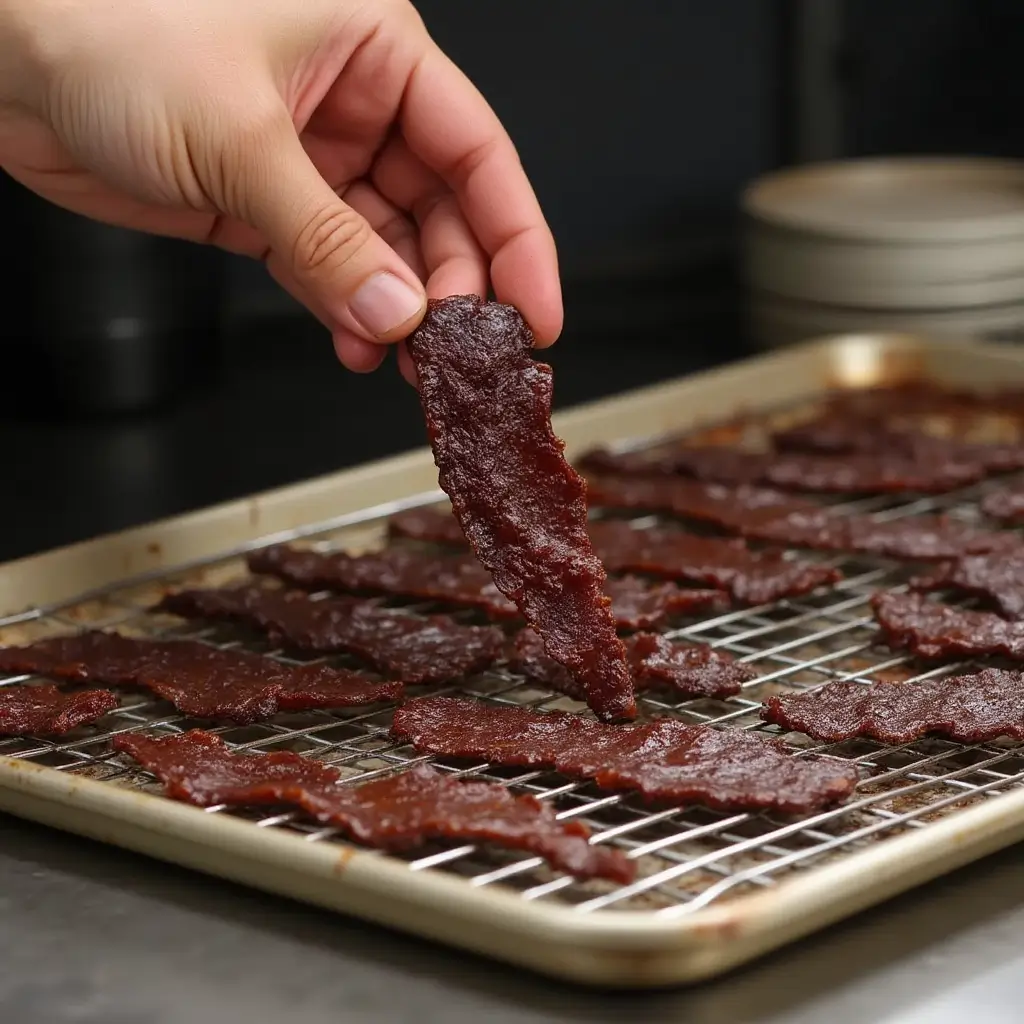
Step 6: Test for Perfect Doneness
To check if your jerky is ready, remove a piece and let it cool for a minute. It should feel dry to the touch with a leather-like texture – chewy but still somewhat tender. If it’s still too moist, continue baking in 15-minute increments until you achieve the perfect texture.
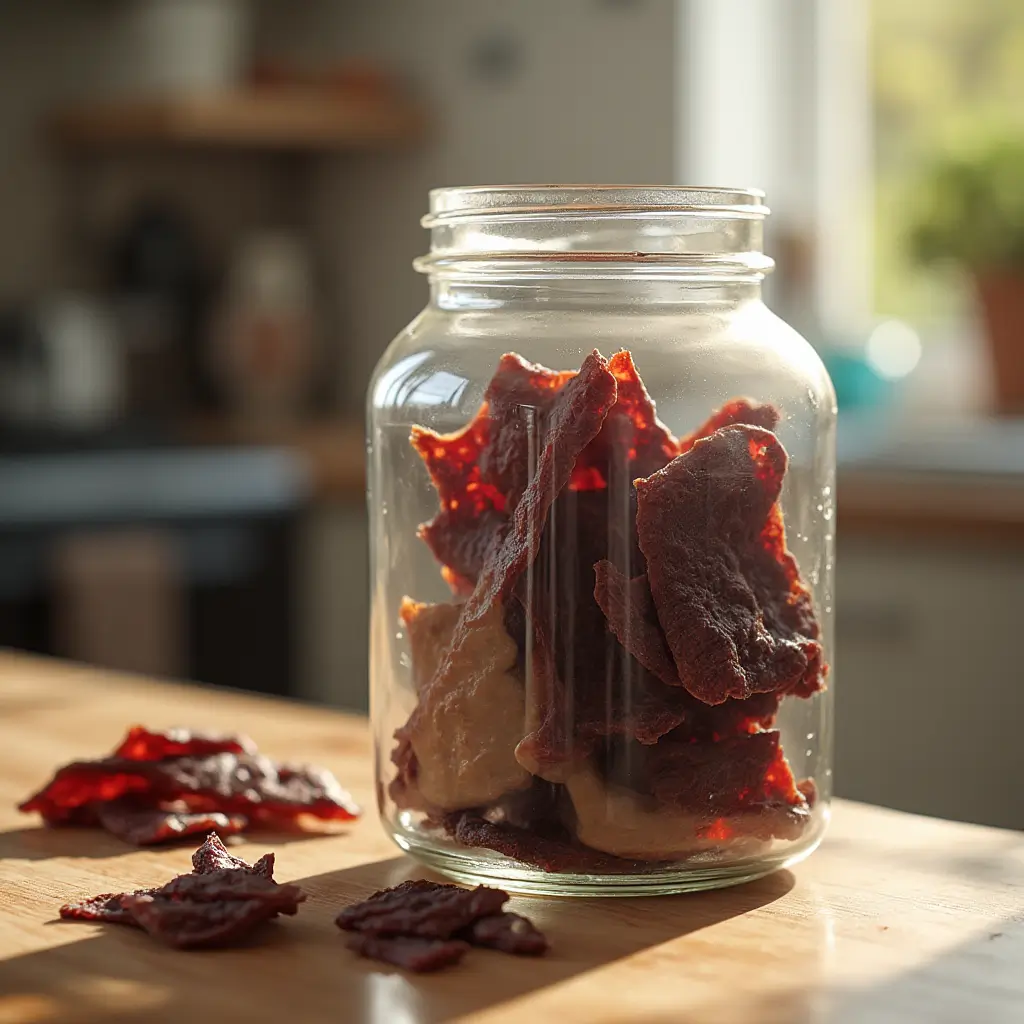
Step 7: Store Your Homemade Treasure
Once cooled completely, store your jerky in airtight containers, ziplock bags, or glass jars. Properly dried jerky will keep at room temperature for about one week, or you can refrigerate or freeze it for longer storage.
Nutrition Information (Per Serving)
- Calories: 140
- Protein: 24g
- Carbohydrates: 6g
- Fat: 2g
- Sodium: 580mg
- Sugar: 5g
Why You’ll Love This Recipe
This homemade beef jerky recipe has become my family’s absolute favorite for so many reasons. First, it’s incredibly economical – you’ll spend a fraction of what you’d pay for store-bought jerky, and you get to control every single ingredient. No mysterious preservatives or artificial flavors here!
The texture is absolutely perfect. Unlike some homemade jerky that can turn out tough or overly dry, this recipe consistently produces jerky that’s pleasantly chewy with just the right amount of tenderness. The secret lies in that generous amount of brown sugar, which not only adds a subtle sweetness but also helps the meat retain just enough moisture.
The flavor profile is beautifully balanced – you get that classic salty-savory base from the soy sauce and Worcestershire, while the smoked paprika adds depth and a hint of smokiness that makes this jerky incredibly addictive. The spices create complexity without overwhelming the natural beef flavor.
Cook’s Tips and Variations
Meat Selection Matters: Always start with a well-trimmed, lean cut of beef. Fat accelerates spoilage, so trim away any visible fat before slicing. Eye of round roast is my go-to choice because it’s affordable, widely available, and naturally lean.
Slicing Technique: Cutting with the grain (not against it) is crucial for jerky. This creates the proper chewy texture. Against the grain would make it too tender and crumbly.
Meat Tenderizer Magic: Don’t skip the unseasoned meat tenderizer! It contains bromelain, an enzyme that breaks down tough meat fibers. You’ll find it in the spice aisle – McCormick makes a reliable version.
Temperature Control: Keep your oven at 175°F. Higher temperatures will cook the meat too quickly, resulting in tough jerky. Lower temperatures won’t dry it properly.
Flavor Variations to Try:
- Teriyaki Style: Add 2 tablespoons of pineapple juice and reduce the brown sugar slightly
- Spicy Kick: Double the red pepper flakes and add a pinch of cayenne
- Sweet & Smoky: Add 1 teaspoon of liquid smoke and an extra tablespoon of brown sugar
- Garlic Lovers: Double the garlic powder and add 1 teaspoon of granulated garlic
Perfect Pairing Ideas
Homemade beef jerky is incredibly versatile! Here are some of my favorite ways to enjoy it:
On-the-Go Snacking: Pack it for hiking, road trips, or busy workdays. It’s the perfect high-protein, low-carb energy boost.
Game Day Spread: Serve alongside cheese cubes, crackers, and cold beer for the ultimate sports watching experience.
Salad Topper: Chop it up and sprinkle over green salads for added protein and flavor.
Trail Mix Addition: Combine with nuts, dried fruit, and dark chocolate pieces for a gourmet trail mix.
Breakfast Enhancement: Crumble over scrambled eggs or fold into breakfast burritos for extra protein.
Frequently Asked Questions
Q: Can I use a different cut of beef? A: While eye of round works best, you can use bottom round, top round, or flank steak. Just ensure whatever cut you choose is very lean and well-trimmed.
Q: How do I know when the jerky is properly dried? A: Properly dried jerky should crack slightly when bent but not break completely. It should feel dry to the touch but still have some flexibility.
Q: Can I reduce the sugar in this recipe? A: While you can reduce it slightly, the sugar plays an important role in preservation and texture. I wouldn’t recommend cutting it by more than half.
Q: What if I don’t have meat tenderizer? A: You can substitute with 1 tablespoon of pineapple juice, which contains natural enzymes, though the meat tenderizer works more effectively.
Q: Can I use a dehydrator instead of the oven? A: Absolutely! Follow your dehydrator’s instructions, typically 135-140°F for 6-8 hours.
Q: How long will homemade jerky last? A: Properly dried and stored jerky keeps at room temperature for about one week, in the refrigerator for 2-3 weeks, or in the freezer for up to 6 months.
Q: Can I reuse the marinade? A: Never reuse marinade that has been in contact with raw meat due to food safety concerns. Always discard it after use.
Q: My jerky turned out too salty. What went wrong? A: This usually happens when the meat is over-marinated or if you used a particularly salty soy sauce. Try reducing the marinating time or using a lower-sodium soy sauce next time.
Making homemade beef jerky is one of those skills that seems intimidating at first but becomes second nature once you’ve done it a few times. The satisfaction of creating something this delicious from scratch, knowing exactly what went into it, is incredibly rewarding. Plus, once your friends and family taste your homemade jerky, you’ll probably find yourself making batch after batch to keep up with demand!
Give this recipe a try, and I guarantee you’ll never want to buy store-bought jerky again. The combination of convenience, cost savings, and incredible flavor makes this a true winner in my book. Happy jerky making!
Have you tried our recipe? Share your review!
There are no reviews yet. Be the first one to write one.